

Introduction
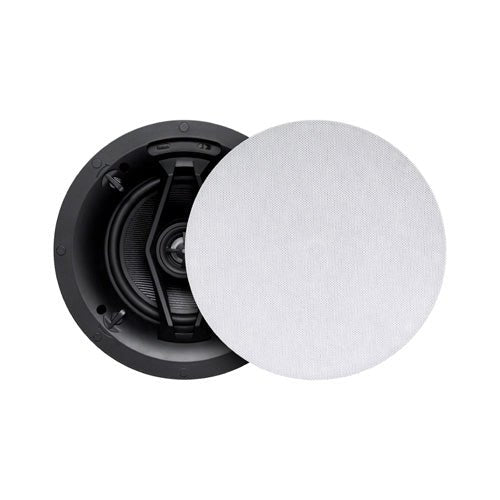
Are you an audiophile? We have got heaven on earth by exploring new ways to deploy music streaming in your home. Connecting your ceiling speakers with an AV receiver can open doors to a new world full of luxury and music streaming at its best.
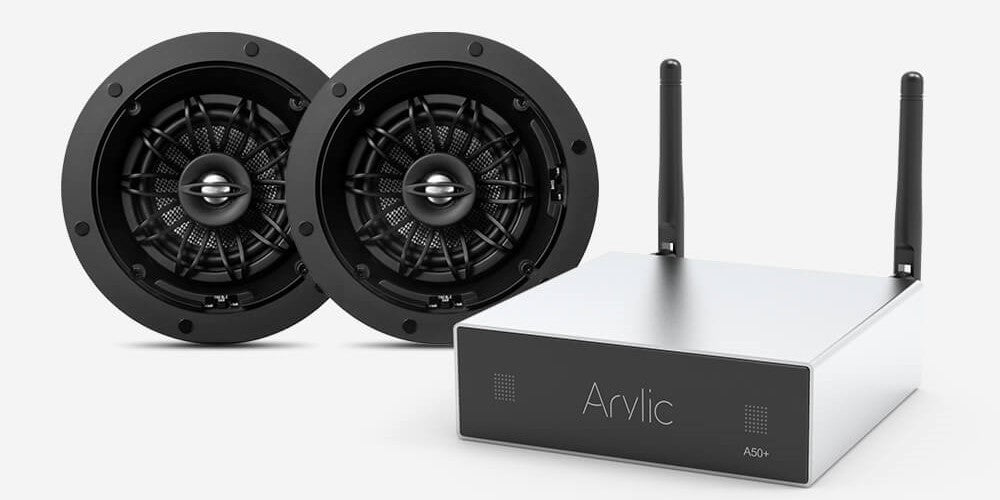
If you want to make this dream a reality, this guide is for you. We have written a step-by-step guide on how to connect your ceiling speakers and amplify your sound experience. Moreover, you'll get some tips to unleash new ways of streaming music. To ensure top-notch quality and seamless integration, consider using Arylic’s range of ceiling speakers and AV receivers designed for audiophiles looking to enhance their home audio systems.
Let's have a detailed discussion on the ceiling speakers!
Body
Section 1: Check Compatibility
Compassing ceiling speakers with AV receivers is only possible with the proper connection and device compatibility. Therefore, check for the:
- Impedance: It gives an idea of resistance to the electrical signals from the multi-zone receiver. Too low or high impedance can interrupt signal transmission. So, check the range and ensure suitable impedance.
- Power handling capabilities. The maximum power a wireless ceiling speaker can handle is crucial for making sound. Exceeding the limit can distort the sound or sometimes damage the speaker. So, test the compatible range before proceeding to the connection.
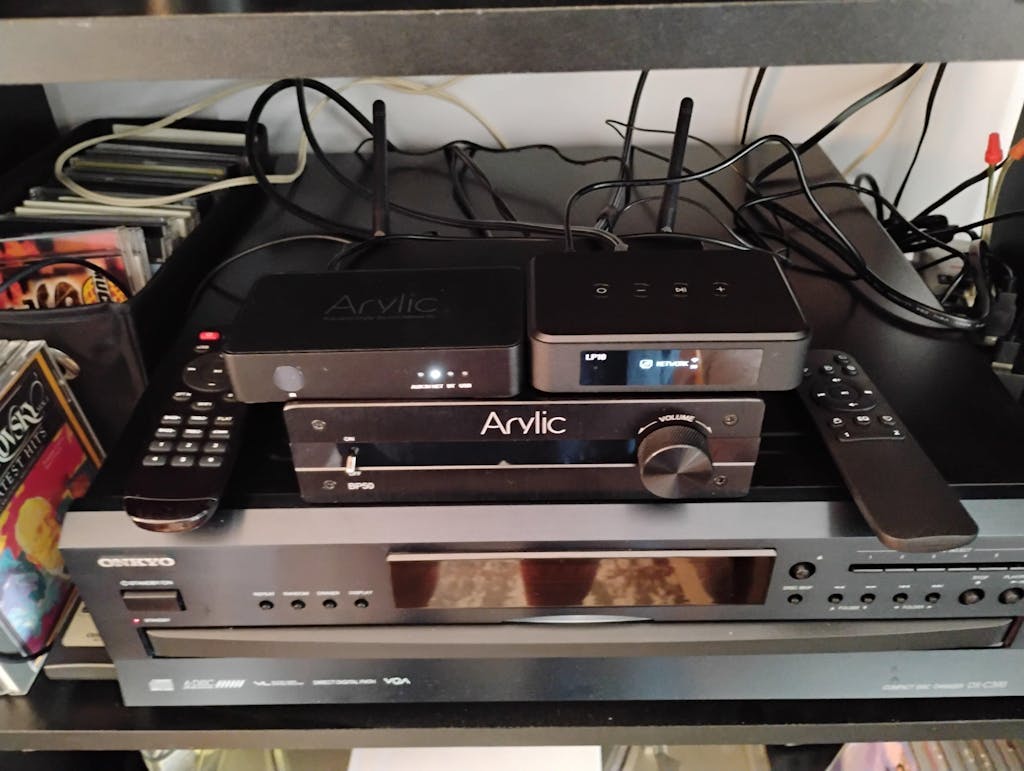
Scan through the specifications when choosing the suppliers' ceiling speakers or multi-zone receivers. Test the impedance and power handling range. Arylic’s ceiling speakers are built to offer wide compatibility with most AV receivers on the market, featuring optimized impedance and power handling to enhance your sound system’s efficiency.
Section 2: Tools and Materials Needed
If you are looking for DIY audio installation, Count on the tools and materials used in the process for proper installation. Depending on your installation process, here are some necessary tools.
- Speaker wire. These wires can connect your speakers to the AV receivers.
- Wire strippers. It exposes the inner conductor of the cables by stripping off the insulation layer.
- You can make holes for the efficient installation of your speakers.
- Speaker mounting relies more on the screws.
- Ladder. The ladder can help ascend and install the speakers on the ceilings.
If you want cost and durability simultaneously, look for the top suppliers that offer sturdy, wired, and compatible speakers. Moreover, hire experts who can skillfully handle the installation process.
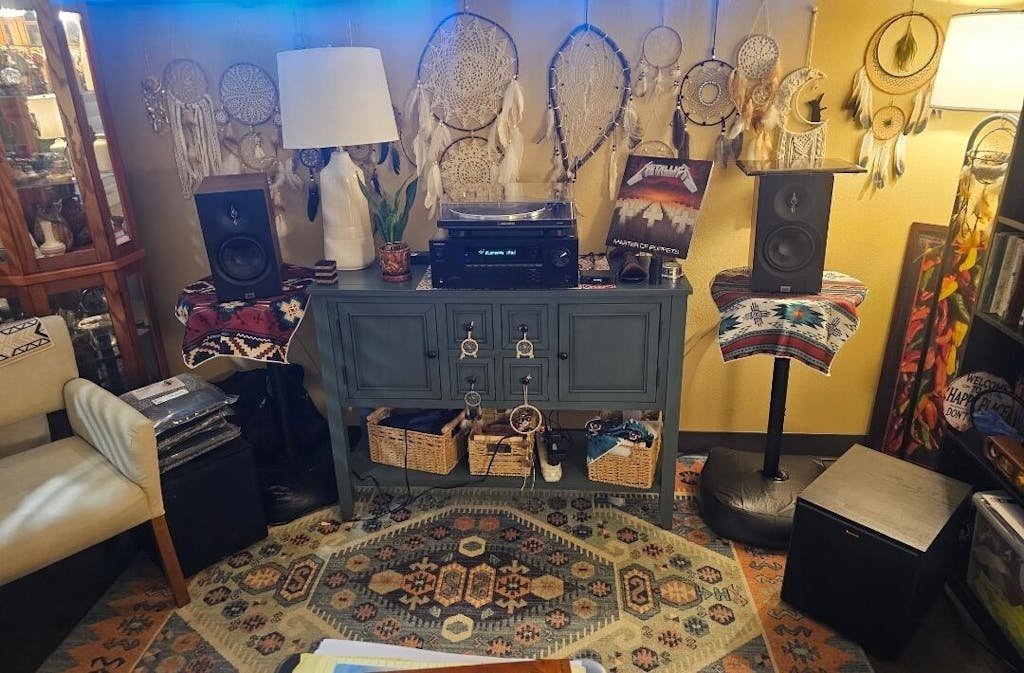
Section 3: Planning Your Speaker Placement
It is the proper placement of the speakers and the room's aesthetics. You can design a perfect room theme with a wireless music streamer. Install the ceiling speakers in the right place and enjoy a nice view.
Here are a few points to consider for your speaker placement.
- Room size. Measure the room size using calculations of length, width, height, walls, and relevant factors. Optimal placement of the speakers is reasonably necessary.
- Sound distribution. Some areas of the room are dead, while others are suitable for sound amplification. For the best experience, choose a standard area for the installation of the ceiling speakers. Consider equal sound distribution throughout the room.
- Aesthetic consideration. Do you want to immerse yourself in the new world of music? Craft perfect aesthetics while blending the home decor and themes with the DIY audio systems.
Section 4: Running Speaker Wires
Running ceiling speaker wires in the room need attention and care. If you don't have experience, hire the experts. However, you can do it as a DIY job, too.
Here are some tips for running speaker wire.
- Define route. Specify your speaker locations and choose the safest pathway to lead your wires. Ensure it is away from interference from the fluorescent lights and electrical cables.
- Measure and cut. How long is the length of wire needed for the connection? Measure it and cut it based on your needs.
- Strip off the wire. Remove the insulation to expose the inner wire layers. These kickstart as a conductor and help transfer sounds.
- Secure cable. When routing the wires, use cable clips or staples to secure them in place.
- Test connections. Before you make it permanent, have a trial. Test the wire connections and functionality. Amend before it is too late.
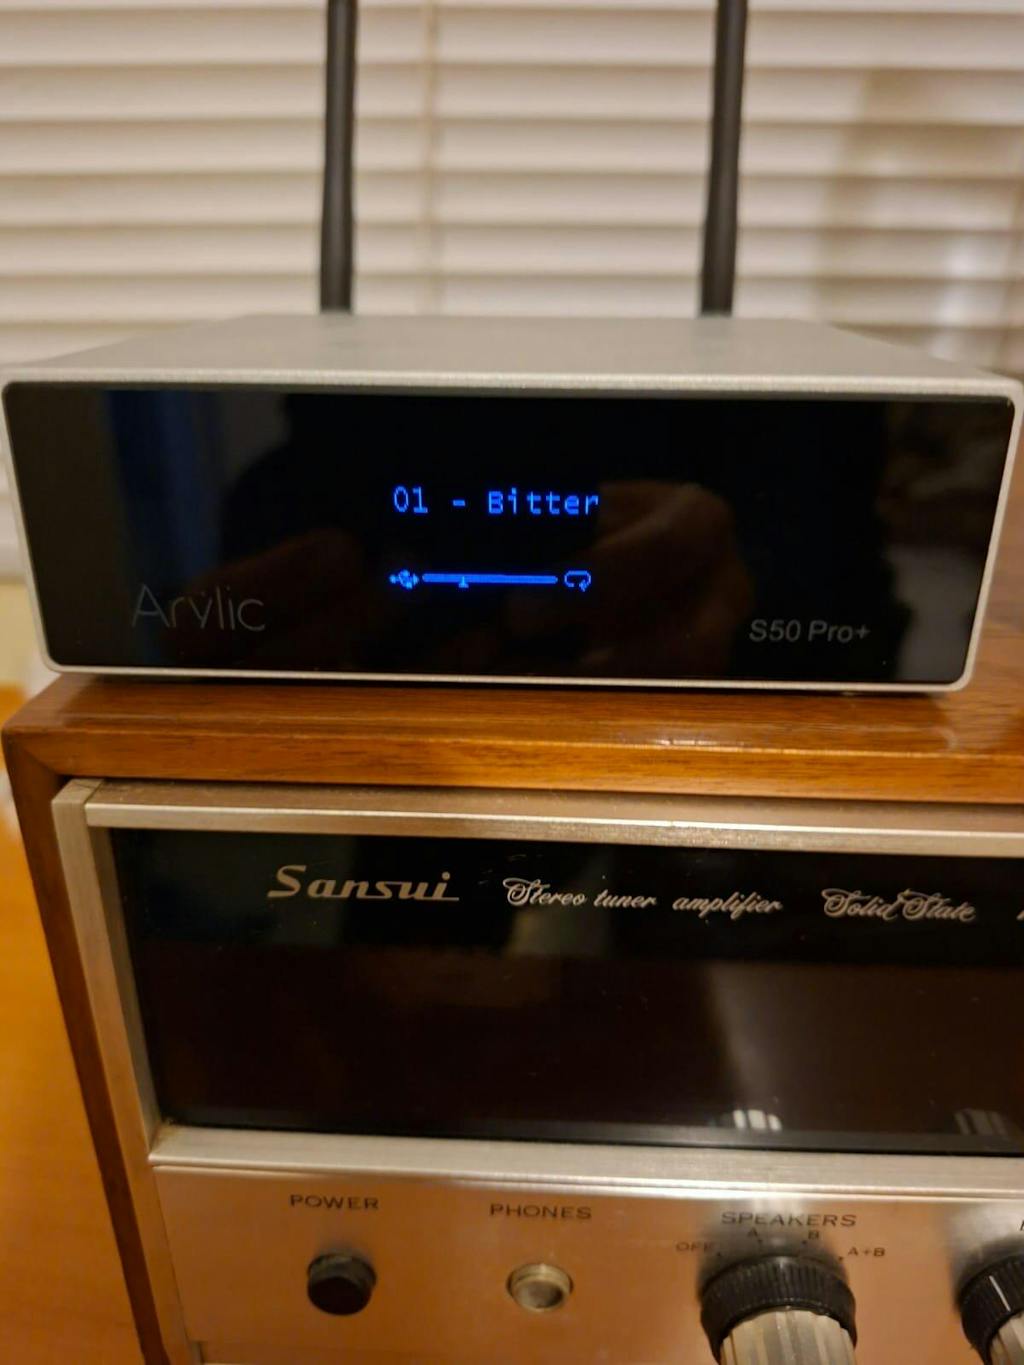
Section 5: Connecting Wires to the Receiver
It is time to make a connection with the receiver. There are a few steps to sort out this task efficiently.
- Locate speaker terminals. Navigate to the back of the receiver. Can you see the positive and negative terminals? If yes, you can proceed to wire stripping.
- Strip wires. Expose the ends of the wire to show some conductor site. Half an inch of insulation is enough in this case.
- Connect with the speaker terminals. Identify the positive and negative terminals with their colors or symbols. Connect negative terminals to the negative side of the wire and positive to the positive to avoid any accident.
- Tighten connection. Close the connection with the help of a screw and tighten it at the site. Avoid tightening too much, as it can damage the wire, terminal, or sometimes both.
Whenever connecting the wires to the terminals, ensure the safety of the connection. Go with the testing to confirm if you have associated positive with positive terminals and vice versa.
Section 6: Installing the Ceiling Speakers
Now, you can select the appropriate location for the ceiling speaker installation on your ceilings. Here are a few steps to do it.
- Decide on the right place. Look into the different arrangements of speakers in the ceilings. Go for the best position, which enables equal sound distribution throughout the location.
- Drill the holes and mount speaker brackets. Use the drill machine to make holes in the ceilings. Remember the placement of electrical wires and be away from them. Make joints and create a perfect place for mounting ceiling speaker brackets. Screw the nuts and tighten the bolts.
- Wire routing. Route wires to each speaker separately and attach the clips to fix the cables.
- Install speakers. Place your speaker in the holes and fix the attachments. Stabilize its position so it doesn't fall on the ground.
- Assess the placement and run your speakers. Notice any glitches in the voice production processes of the ceiling speakers.
Section 7: Connecting Wires to Speakers
Our connection of speaker to receiver is the final step that integrates both devices. You have to do the following things.
- Strip off wire ends. Take the speaker wires you already routed in the past steps. Remove insulation half an inch from one of its ends.
- Locate and match terminals. The receiver and speaker terminals must match. You can match speakers' positive terminals with the receiver's positive. Do the same for the negative terminals to connect both devices.
- Connect wires. Take the bare end of the cables and link the receiver's positive terminal to the speaker's positive terminal. Remove the excessive wire length if leftover, or secure the wire in place with the clips and staples.
- Tighten terminals. Once you have connected the wires, use a screwdriver to tighten terminals. Don't leave the wire loosened out.
- Double-check connections. Once you have done all the tasks, here is the time for the final overview. Check the connections and match the polarity of the terminals. Secure wires and remove the excessive parts when connecting the terminals by cutting them efficiently.
If you are unsure about the connection stability, go for the trials.
Section 8: Testing the System
Installing DIY speaker kit can be a no-brainer, but have you installed it correctly? That is the question behind every failure. Test the functionality of the speakers in the following ways.
- Power the receivers. Turn on the multizone receiver’s power source to test whether it gets suitable power. Always get a compatible power source to avoid any mishap.
- Test each speaker separately. Don't test both ceiling speakers simultaneously, as a normal one can mask the sound errors in the damaged ones. So, run one speaker at once and look for sound errors and volume. After testing individually, you can test both simultaneously.
- Adjust settings. Use the volume button to adjust the volume settings. Also, check the sound balance and equalization features in both speakers.
- Verify polarity. Confirm the normal polarity of both speakers.
- Test overall performance. Play a different range of music and tones to test all the features. Expect a non-stop performance if the connections are correct.
Section 9: Final Adjustments and Clean-Up
After the installation of the DIY bluetooth speaker kit, there is much more to do. It includes:
- Assess the correct orientation of the receiver and speakers in the place.
- Conceal the wires with the wire molding. Don't expose the stripped parts ever!
- Try different sound modes and adjust volume settings to your required levels.
- Remove any debris and dust from the site. When drilling holes, eliminate small scraps and clean up the site.
- Secure your wires with the staples or use the clips.
Always make a final test of the connection between the ceiling speakers and the receiver. Correct the problems in the early phase before they become huge.
Conclusion
Have you installed and tested your ceiling speakers? Well, you've done great! Ceiling speakers can create aesthetics and high-level sound systems. Whenever installing the speakers, assess the room conditions and measure the sound distribution. Consider all aspects with quality to ensure a seamless music experience.
Do you want high-quality ceiling speakers and audio equipment? We have a top supplier— Arylic.With Arylic, you not only get superior audio components but also the reliability and customer support to maintain high performance. Make Arylic your choice for a luxury audio experience with ceiling speakers. Grab all the quality tools with long-lasting durability and non-stop performance. Check them out right away!


Leave a comment
All comments are moderated before being published.
This site is protected by hCaptcha and the hCaptcha Privacy Policy and Terms of Service apply.