

Beginning to use a record player for the first time can be a thrilling and sentimental experience, especially if you want to complete a home audio setup or make a home theater system.
To fully enjoy the warmth and beauty of analog music, it is important to know how to use a record player. This applies whether you have inherited one or are new to vinyl.
We'll walk you through the process of setting up and using a record player for the first time in our beginner's tutorial.
This article provides all the information you need to start your vinyl journey. It covers assembling the parts, caring for vinyl records, and adjusting settings for the best sound quality.
Five Steps About How to Use a Record Player
First: Putting Your Record Player Together
The first step in utilizing a record player is putting its various parts together. Begin by carefully removing any protective coverings or transit screws from the turntable.
Locate the platter, which is the circular surface where your vinyl records will be placed. Place the platter gently onto the spindle, making sure it is securely in place.
If your record player has a belt drive system, wrap the belt over the motor pulley and the inner ring of the platter.
For direct-drive devices, skip this step because the motor spins the platter directly. Finally, secure the tonearm to the turntable's appropriate mount, taking care not to damage the stylus (needle).
Second: Using Vinyl Records
Vinyl records are sensitive and easily damaged, thus appropriate care is essential. To prevent touching the playing surface, always pick up or move a record by the edges or along the outer rim.
Fingerprints, dust, and scratches can harm sound quality. Inspect the record for noticeable dirt or debris before playing it.
If necessary, use a carbon fiber brush or a specialized record-cleaning brush to carefully clean the surface. Always remember to brush in a circular manner, following the grooves. Avoid using excessive force or cleaning products that may damage the surface of the record.
Third: Configuring Your Record Player
Once your record player has been assembled and the vinyl record has been prepared, it is time to configure the machine for the best performance.
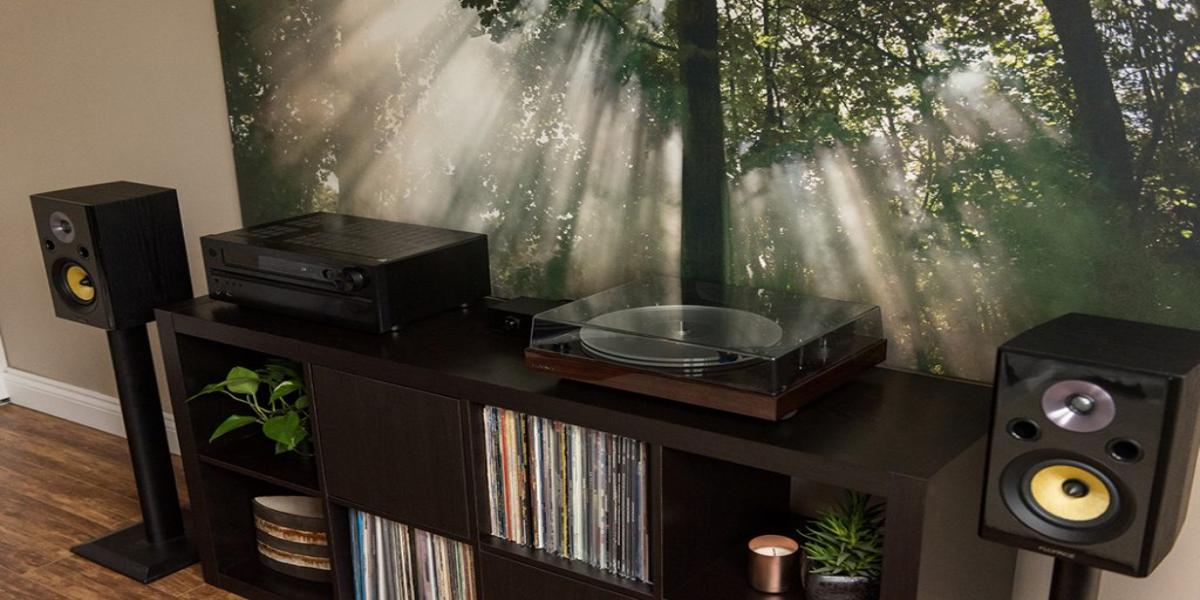
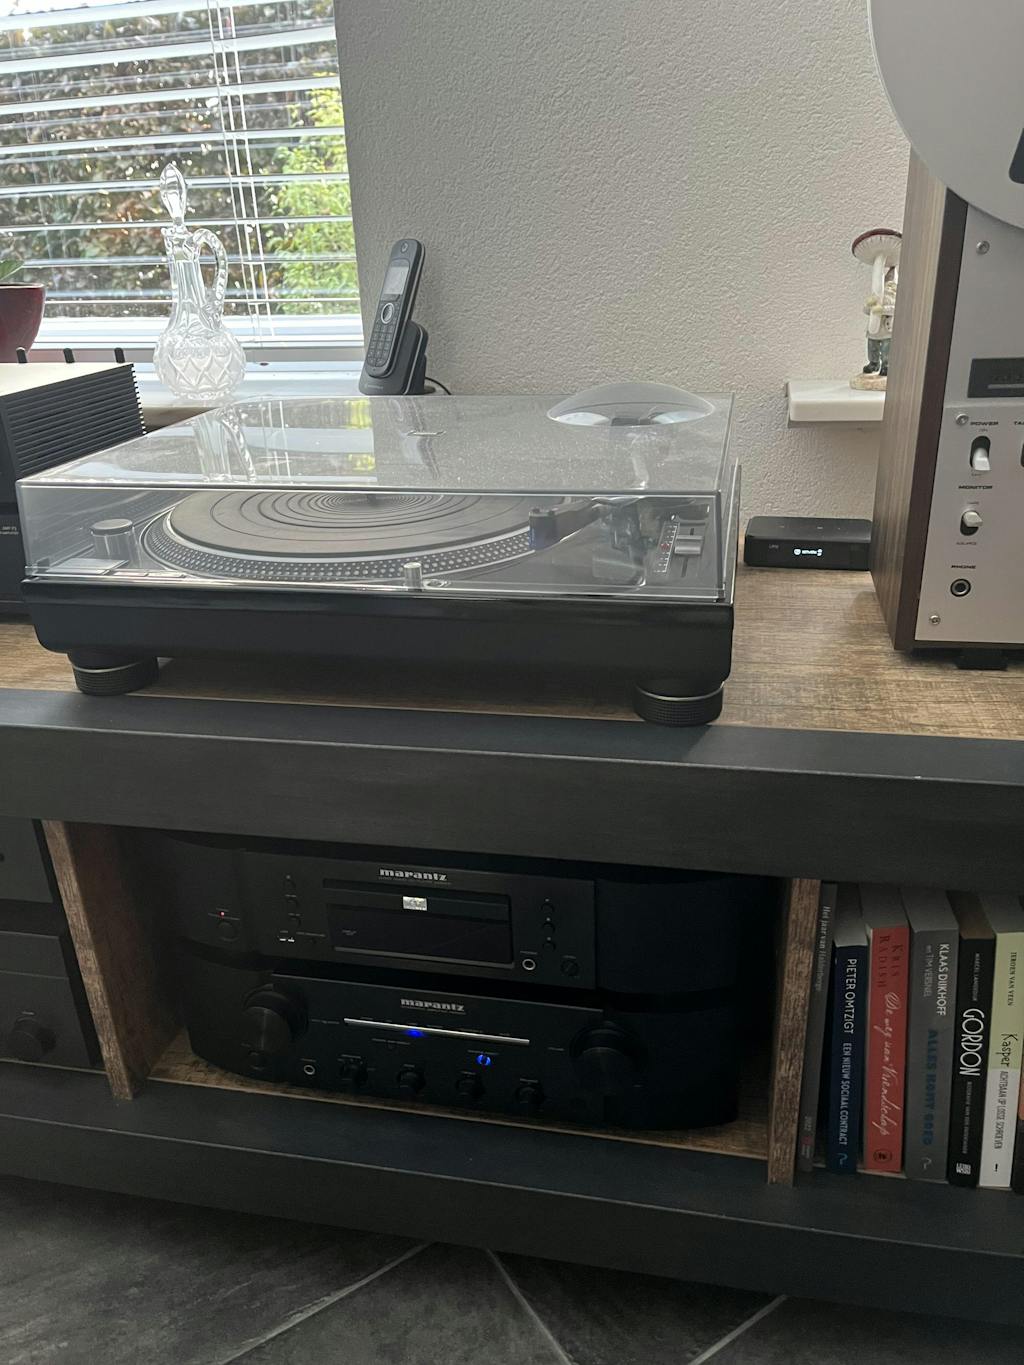
Begin by positioning your record player on a flat surface, away from speakers or other sources of vibration.
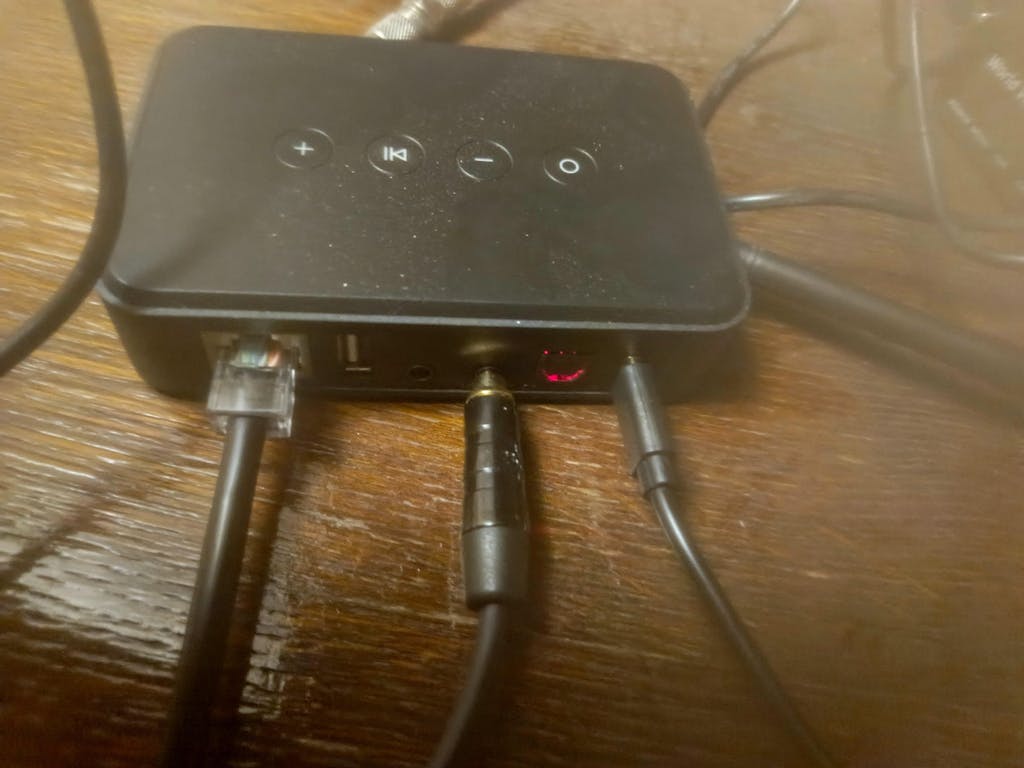
This reduces background noise and offers a smooth playback experience. Then, using the proper cords (e.g., RCA cables or USB), connect your record player to an audio system or powered speakers.
Check that the connections are secure once more. You can skip this step if your record player has built-in speakers. Finally, connect the power cable and start the record player.
Fourth: Placing and Listening to Your Vinyl Record
It's time to play your vinyl record now that your record player is set up.
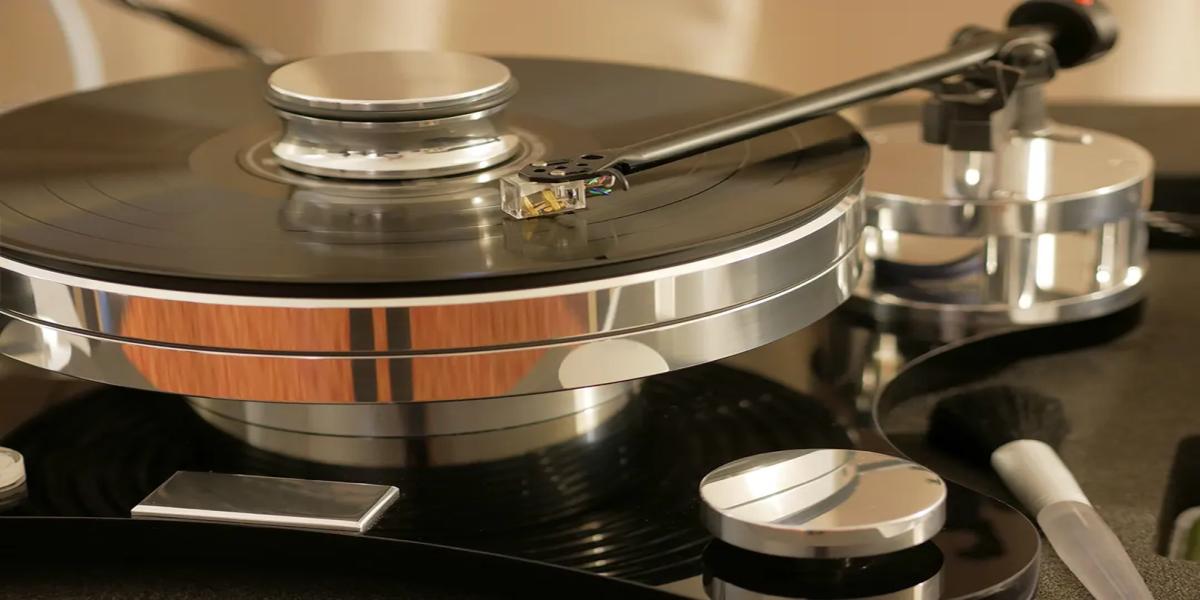
Begin by removing the tonearm carefully from its resting position, taking care not to drop it or touch the stylus against the platter.
Place the tonearm above the record's outside edge. Some record players have a function that allows the tonearm to drop itself onto the record automatically.
If your player lacks this capability, use the cueing lever or dial to gently lower the tonearm onto the record's surface. When the stylus makes contact with the record, music should begin to play.
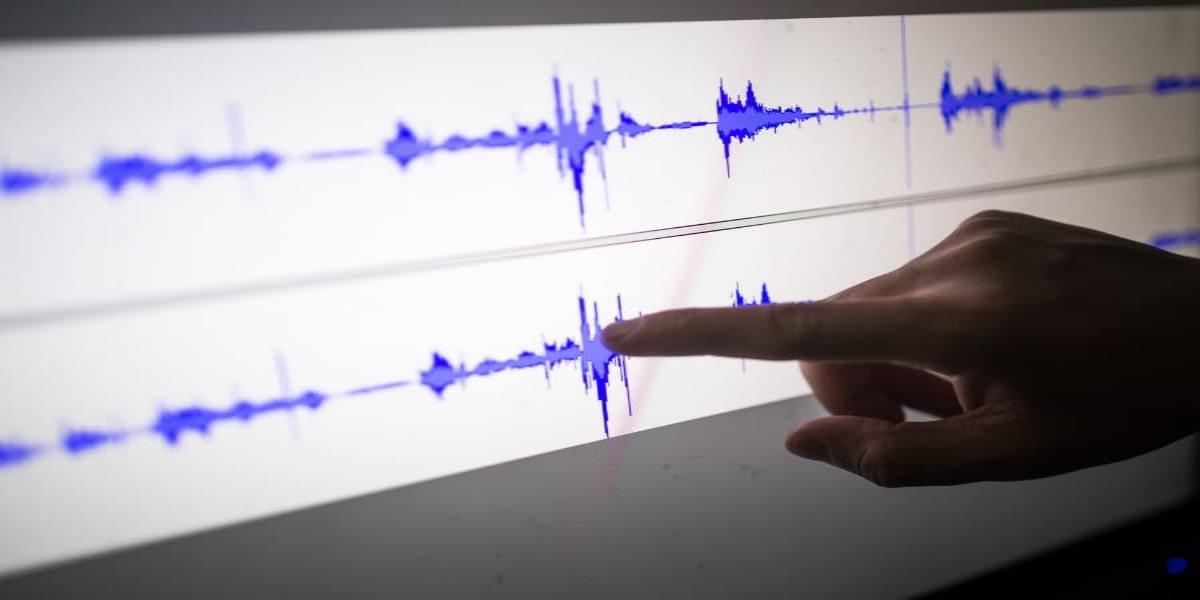
Fifth: Setting Options for Best Sound Quality
Your record player may feature adjustable settings that you may fine-tune to achieve the best sound quality. The tracking force, which governs the pressure of the stylus on the record, is a crucial setting.
Determine the recommended tracking force for your cartridge by consulting the owner's handbook for your record player. You may also need to tweak the anti-skate option, which aids in maintaining balance and preventing the stylus from skipping.
Finally, ensure that your record player is set to the correct speed (e.g., 33 1/3 RPM or 45 RPM) for the record you're listening to. Tone control options are also available on some turntables for changing the equalization.
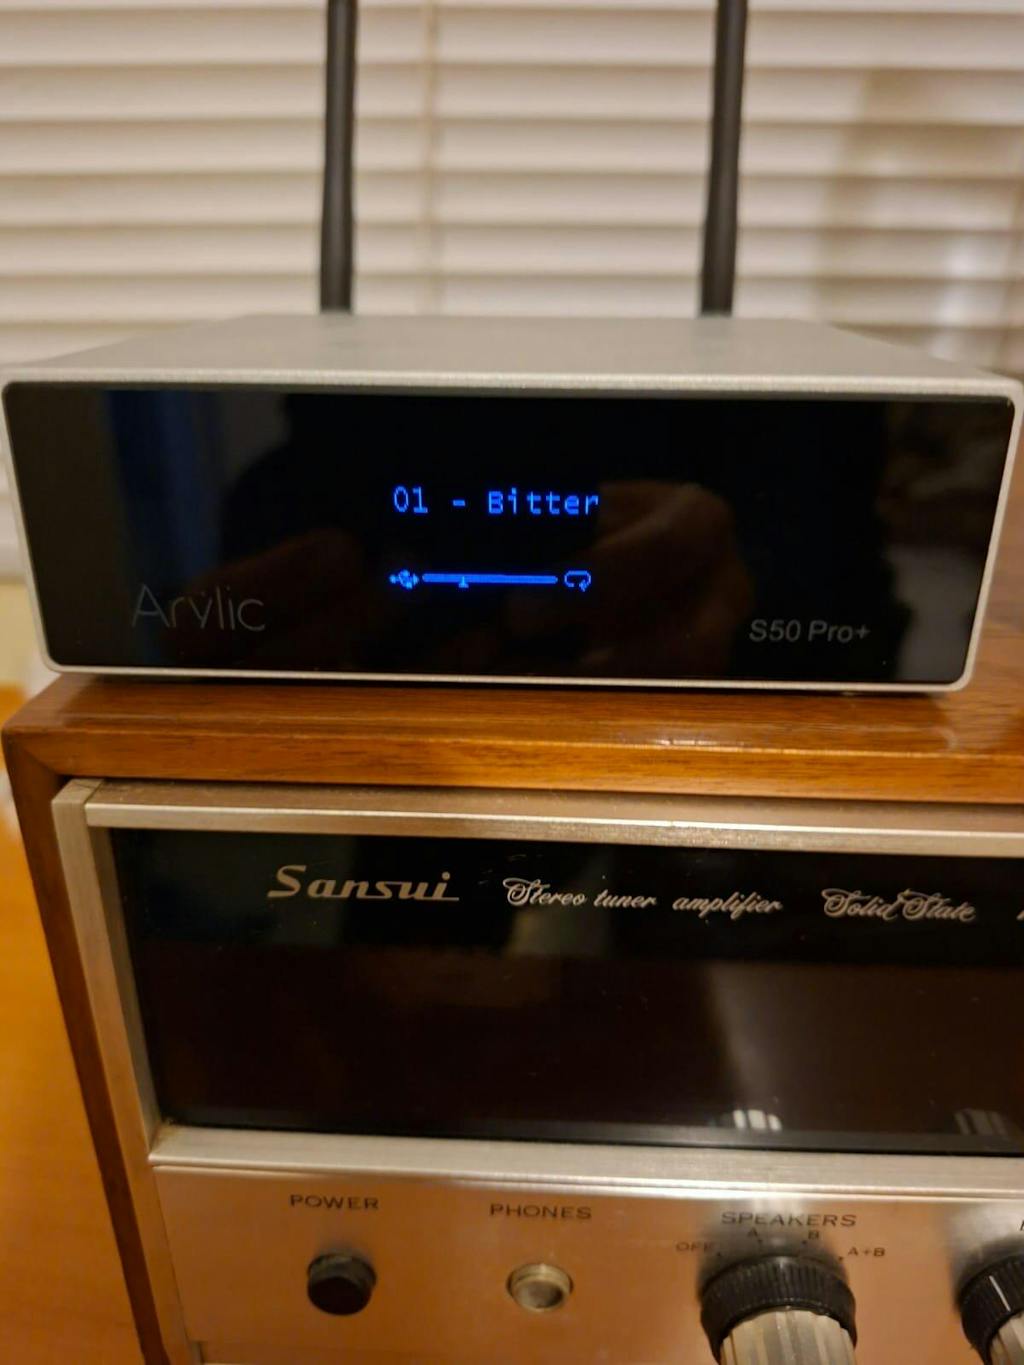
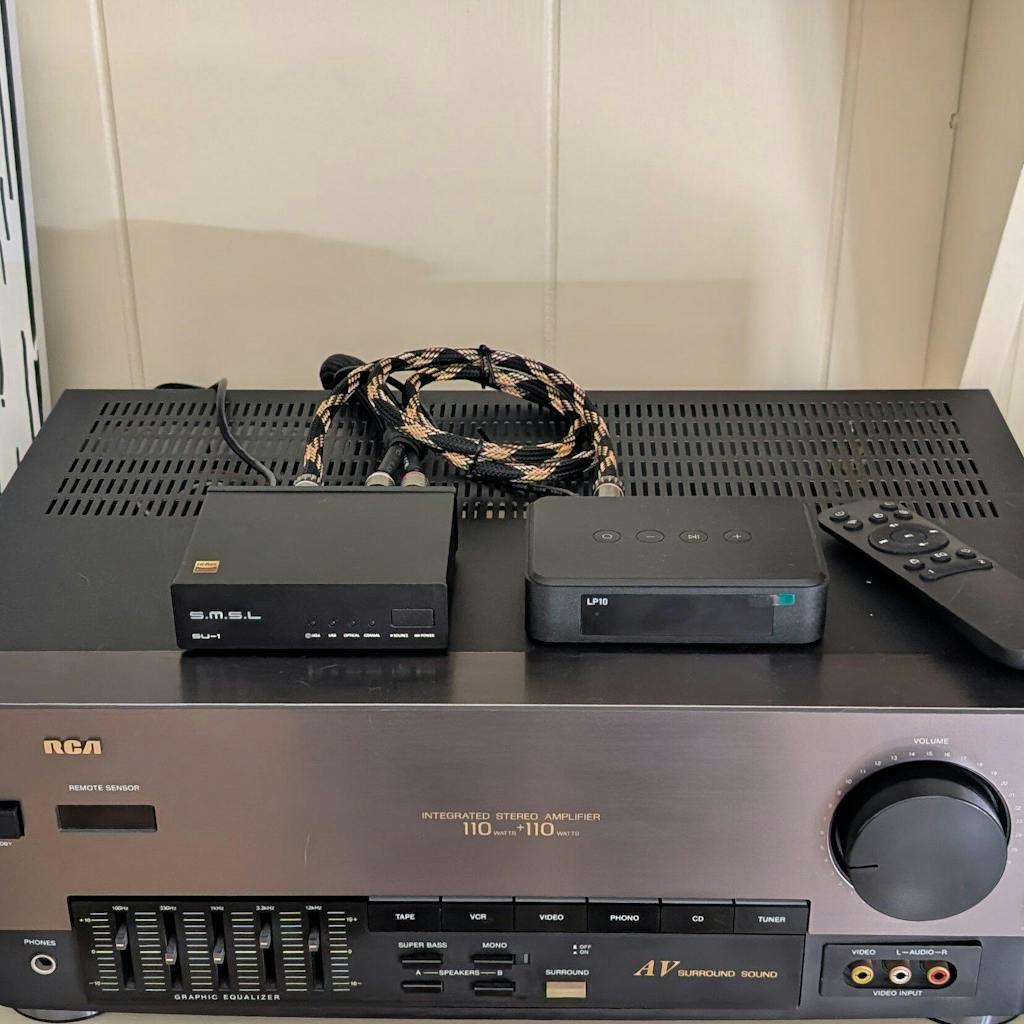
Does Your Record Player Need an Amplifier
When it comes to using a record player, the necessity for an amplifier is mostly determined by the type of record player you have and the listening setting you choose.
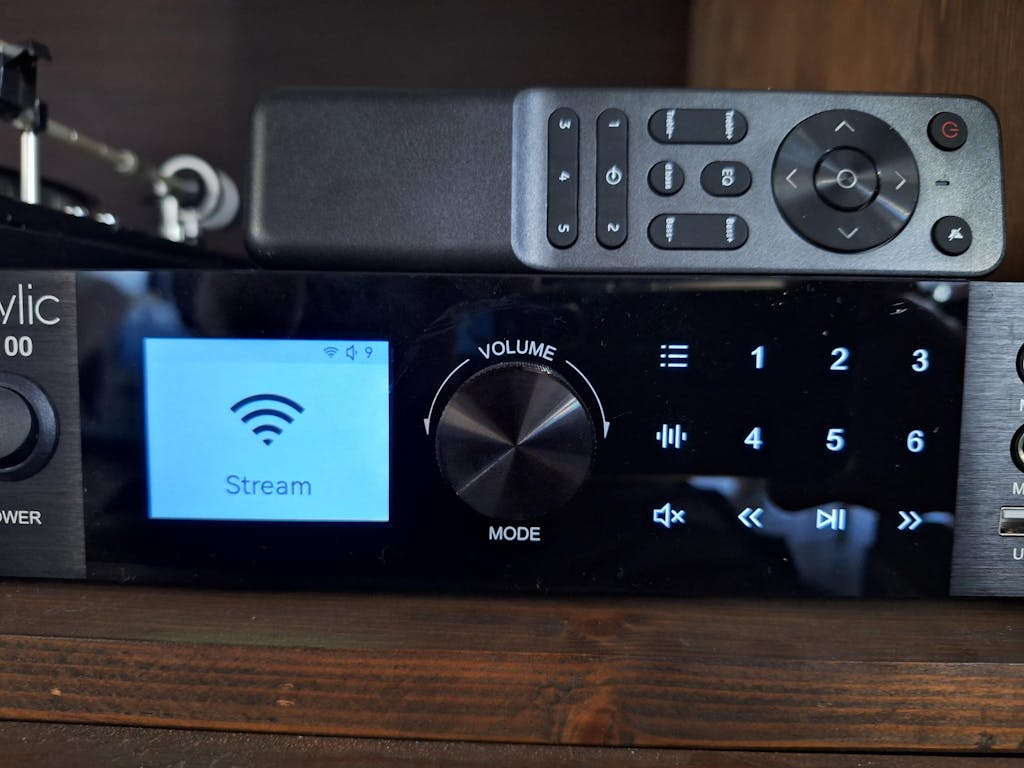
Many modern record players, often known as "all-in-one" or "turntable systems," include built-in amplifiers.
These systems have built-in amplification. This means you can connect your speakers or headphones directly to the record player. You won't need an extra amplifier.
As a result, they are convenient and user-friendly solutions for people just beginning out with vinyl.
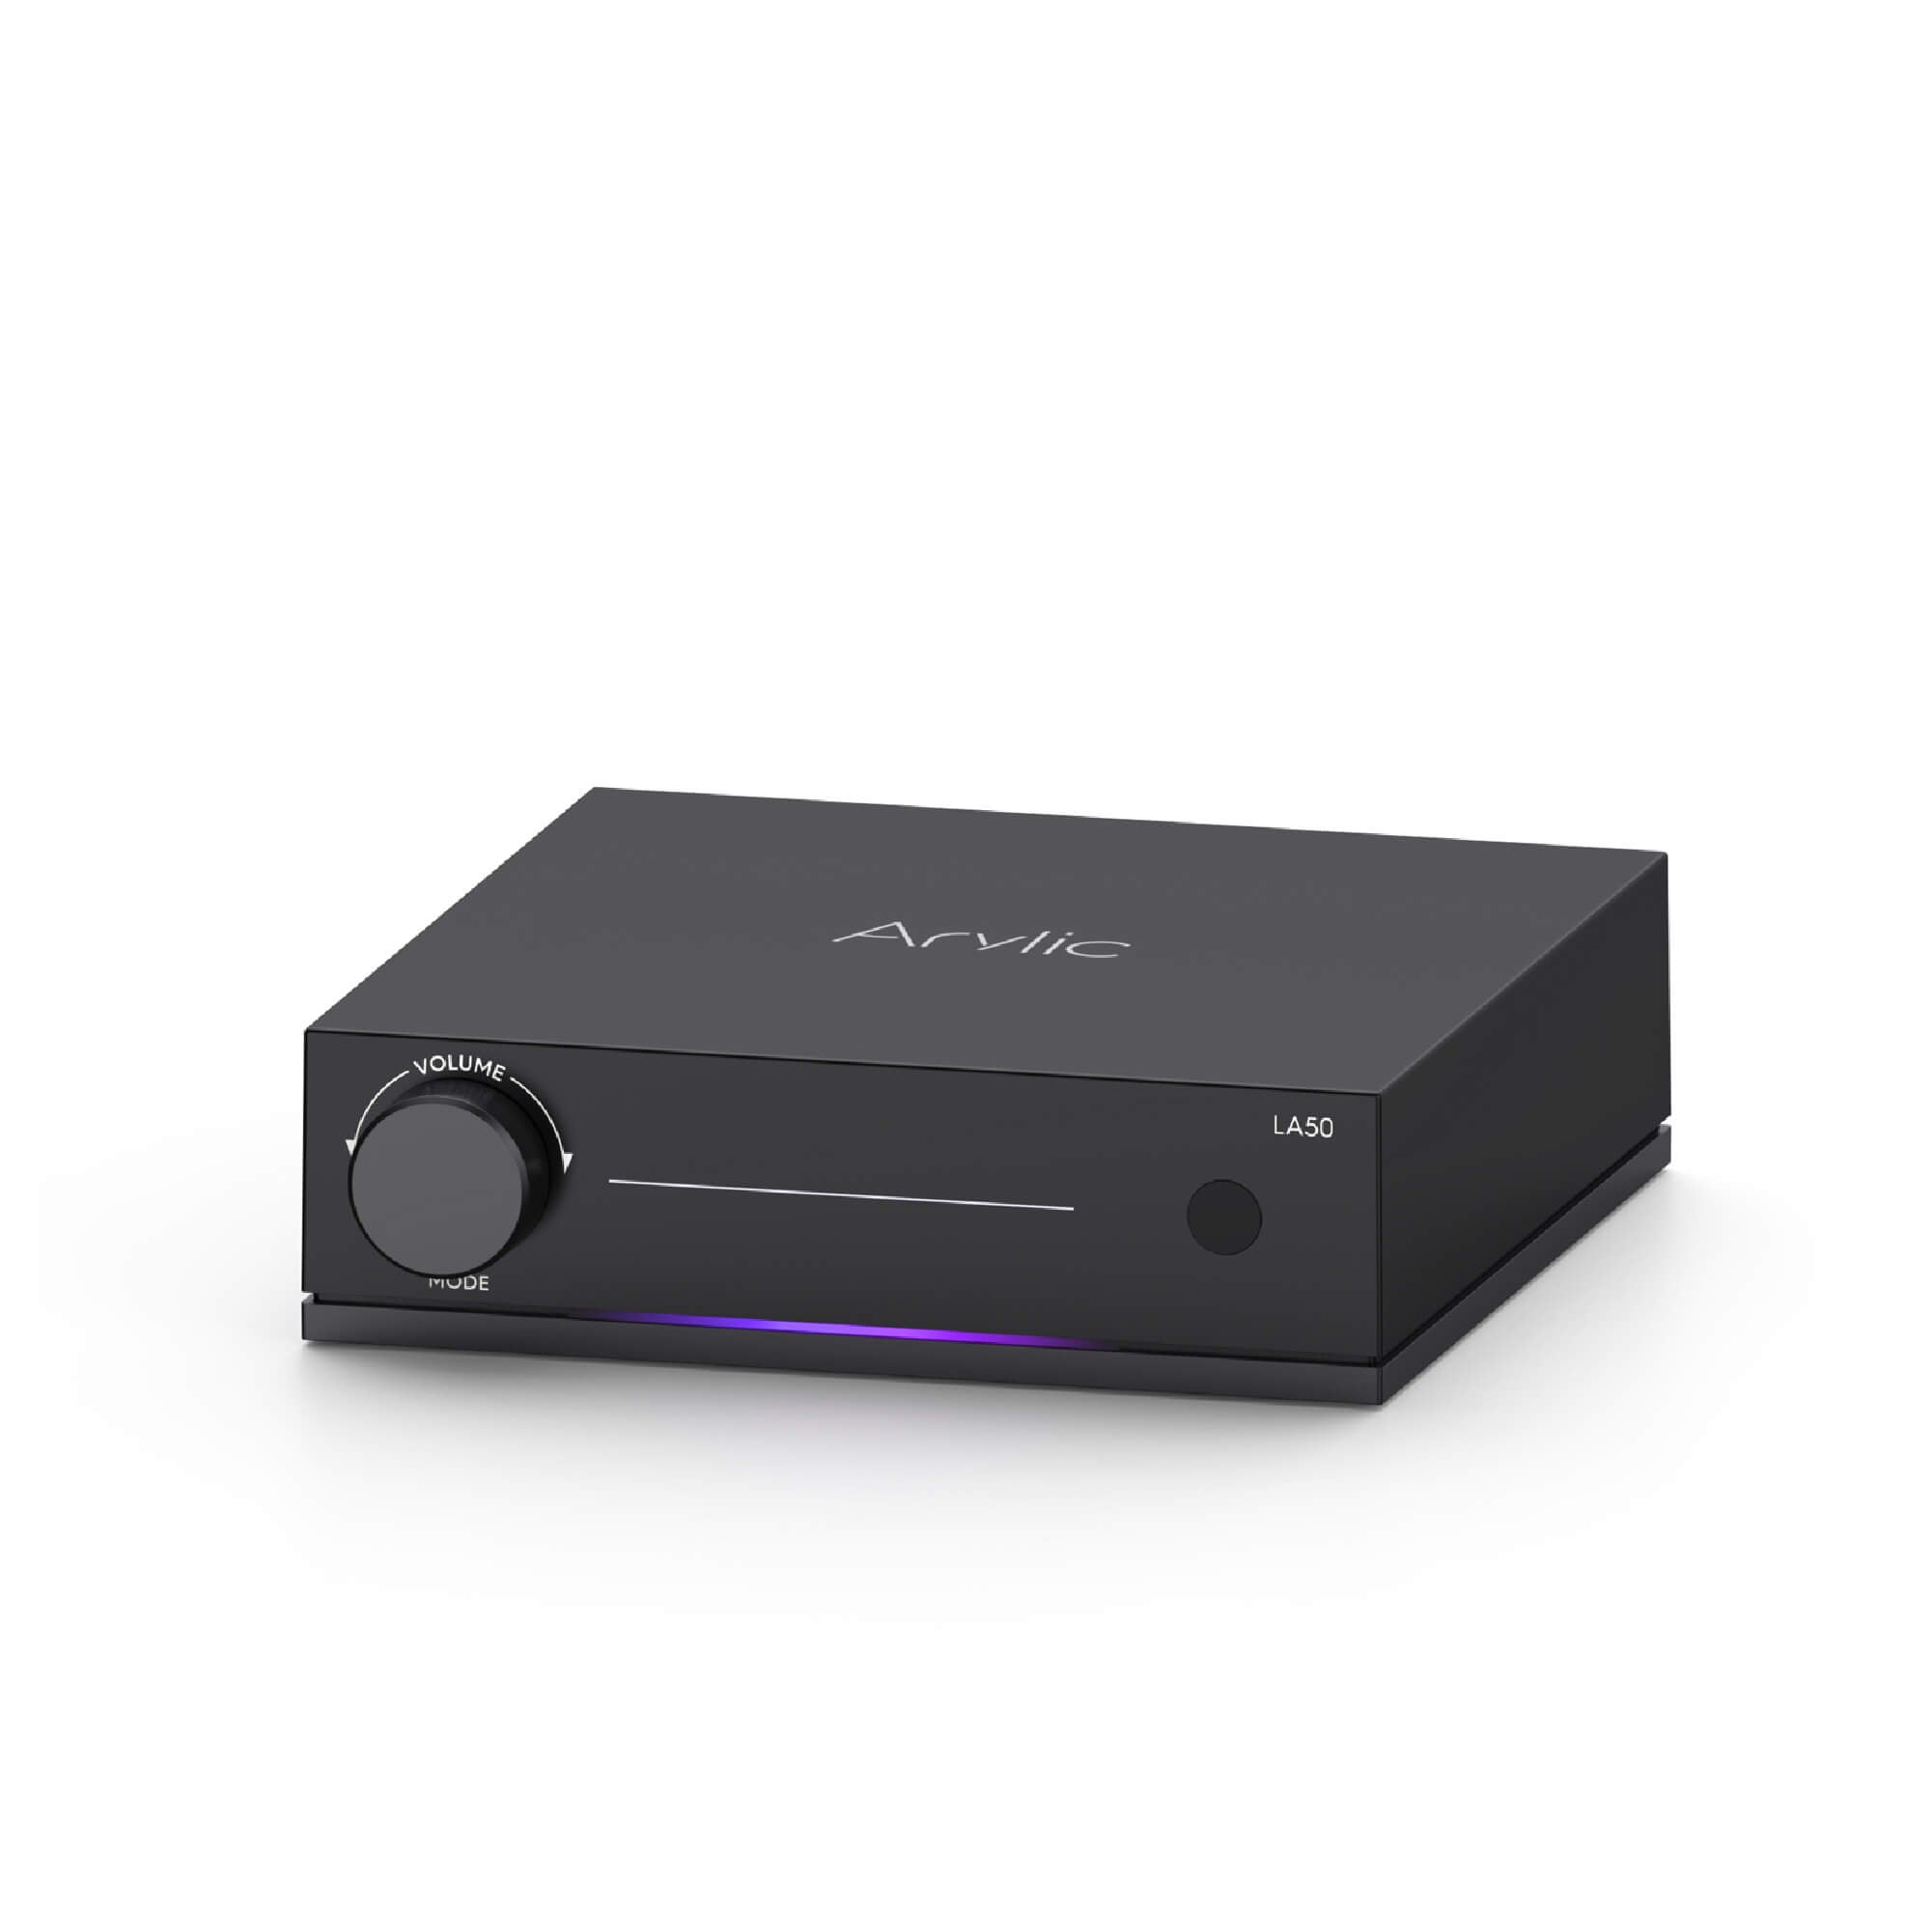
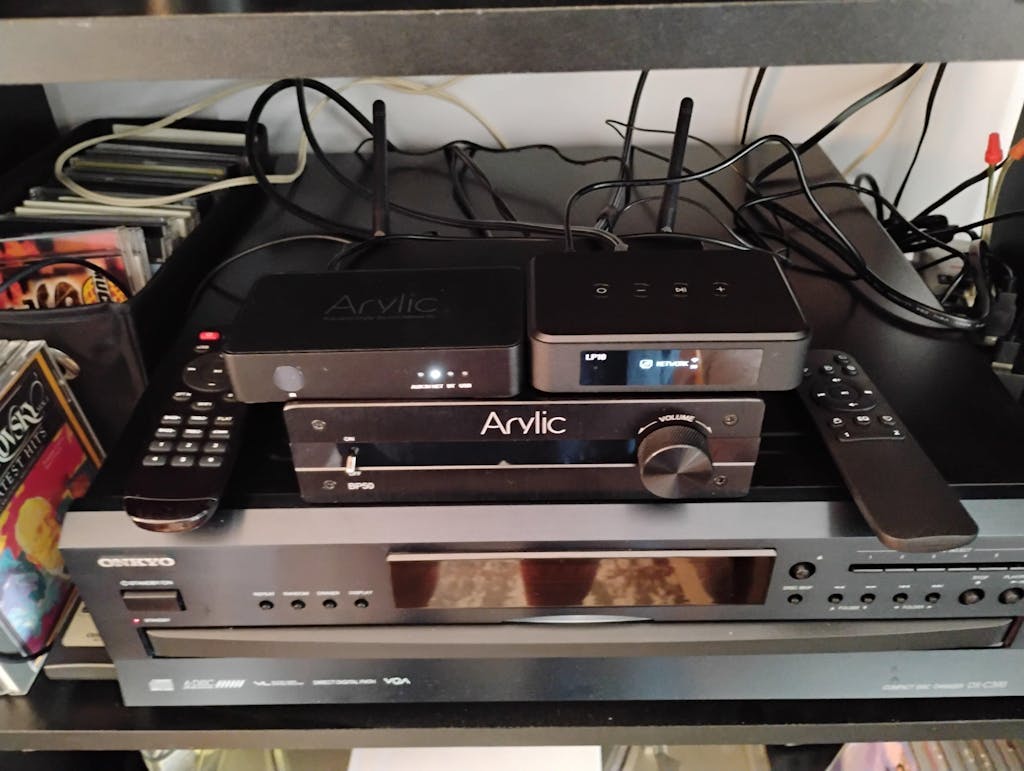
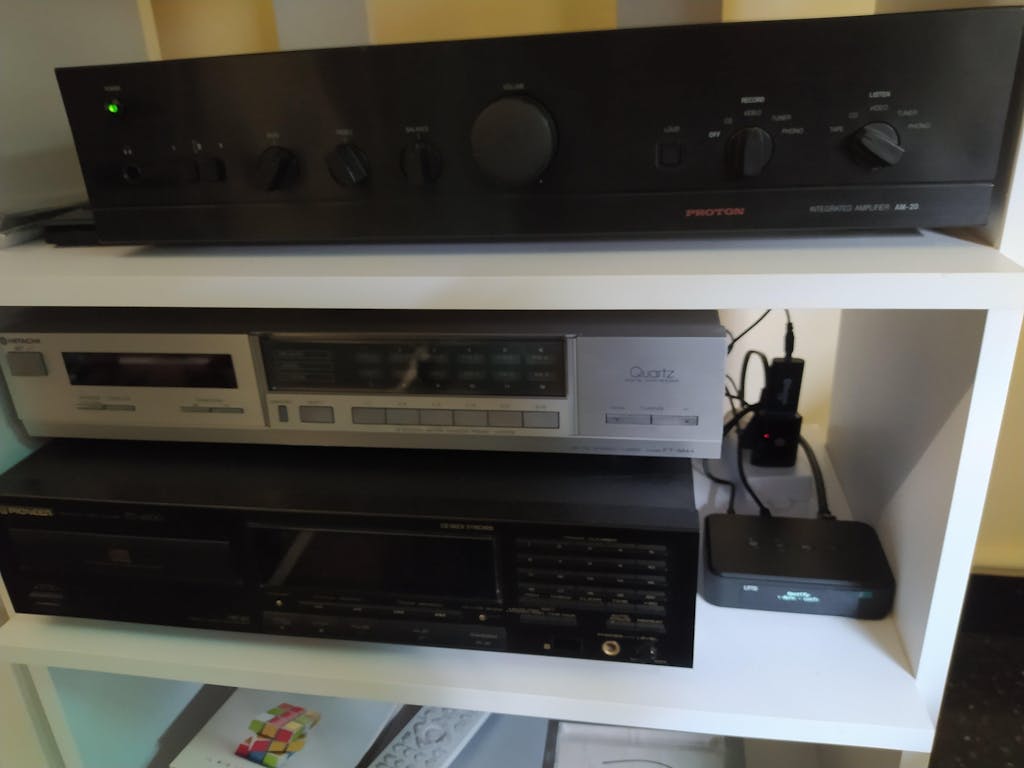
If your record player does not have a built-in amplifier, you will need to use an external amplifier or a receiver to power your speakers.
The record player is connected to the amplifier, which makes the weak signal stronger so it can power the speakers.To make a sound, the amplified signal is transferred to the speakers.
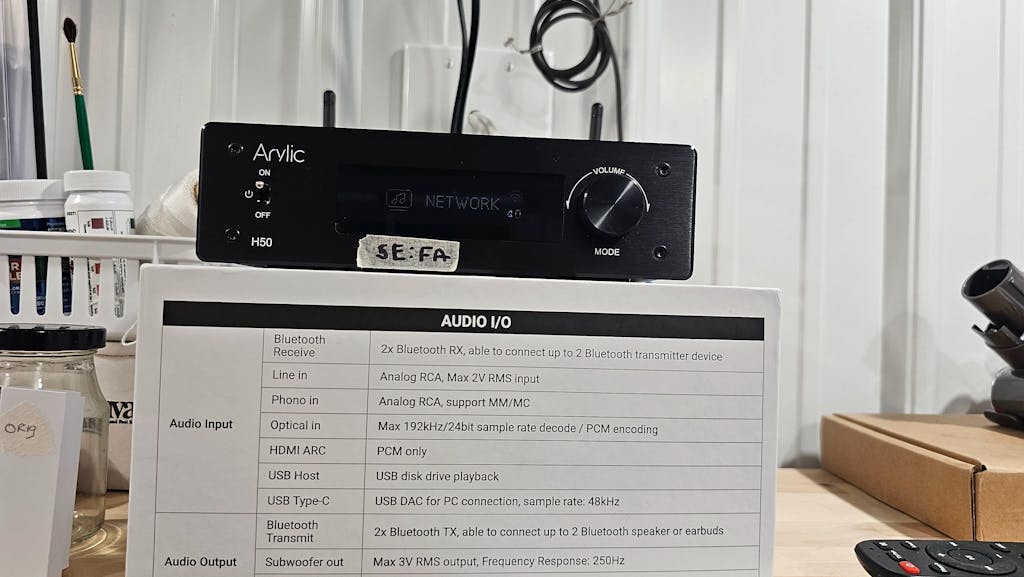
Furthermore, some record players include a built-in preamplifier (phono stage) that equalizes and amplifies the cartridge signal.
If your record player has a built-in preamp, you can connect it to an amplifier or powered speakers. This means you don't need a separate preamp.
The precise features of your record player will determine whether or not you require an amplifier.
To find out if your record player includes a built-in amplifier or preamp, review the user manual or do some research.
Understanding your equipment's capabilities will allow you to correctly set up and use your record player for the finest audio experience.
How To Use a Record Player: Final Considerations
There are a few last points to keep in mind as you go deeper into the vinyl experience.
To begin, always handle your documents with care and use suitable cleaning measures to keep their quality.
Second, to guarantee optimal sound reproduction, inspect and replace the stylus or needle on a regular basis.
Finally, take the time to explore different genres and performers, appreciating the distinct qualities that vinyl playing provides.

Leave a comment
All comments are moderated before being published.
This site is protected by hCaptcha and the hCaptcha Privacy Policy and Terms of Service apply.